|
Making a Midpoint and a 3 Factor Sensitive Point or Lot and Adding Simple Points to the Dial |
Scroll Prev Top Next More |
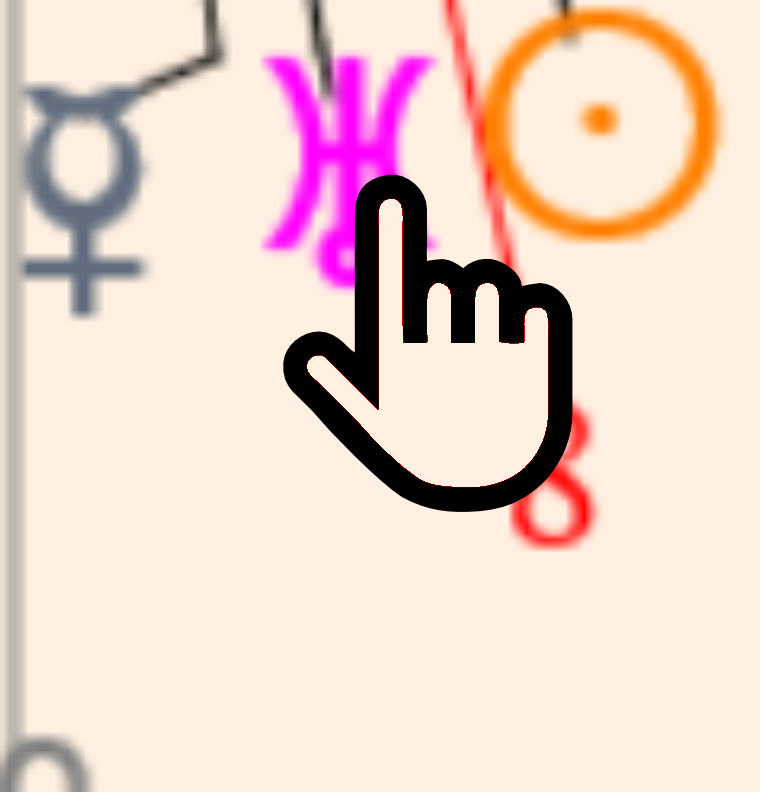
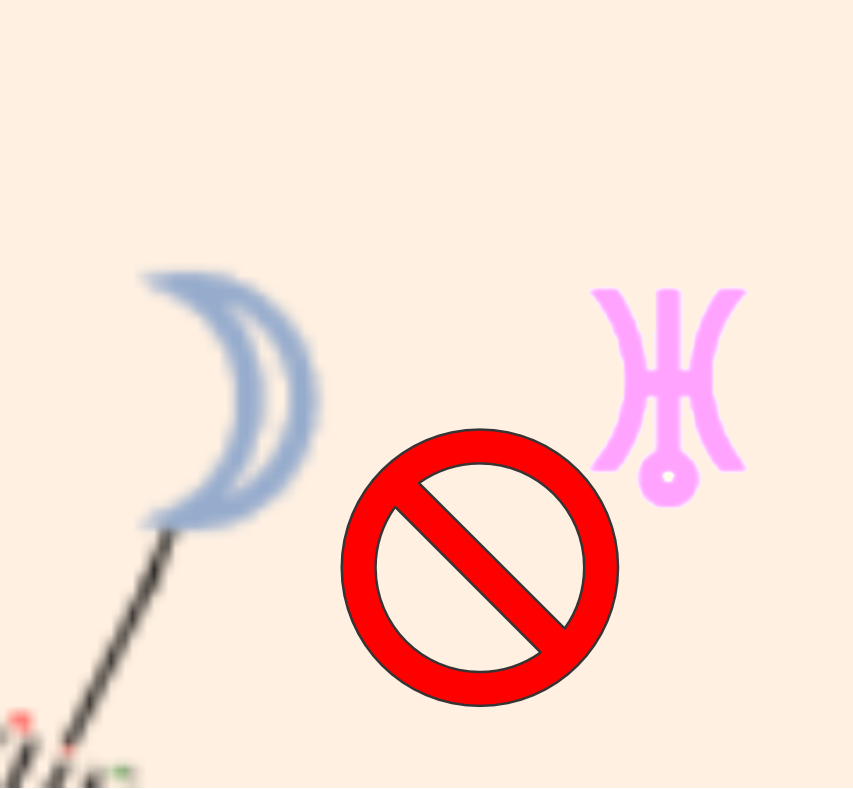
When you hover the cursor over a planet or factor, the cursor becomes an image of a hand. This indicates you can select the planet or factor. If you left click on the planet or factor and hold the click down and drag the mouse toward another planet or factor, the cursor becomes an image of the planet or factor with a “no” symbol (red circle with a slash through it) until you hover over another planet or factor and the “no” symbol becomes a square box (representing a piece of paper).
 |
 |
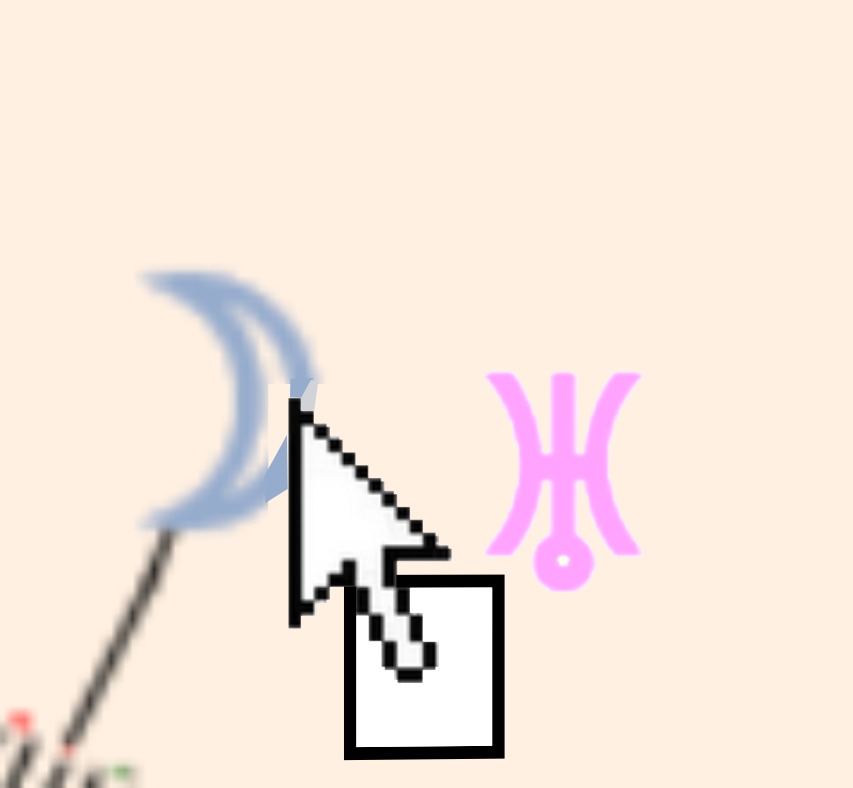 |
These illustrations show the process of creating the w/i midpoint. The first shows the cursor as it hovers over the i and changes into a hand symbol. This change to a hand shows allows you to left click (hold the mouse button down) and you have successfully selected the planet. As you hold the mouse button down and drag the cursor towards the w, the cursor changes from a hand symbol to a red no symbol as seen in the second illustration. When you hover over the w the cursor changes to an arrow over a sheet of paper and you can release the mouse button and the structure of the midpoint will automatically form.
When you release the click you will have drawn a midpoint and positioned the Dial Pointer on the near end of the axis.
You can also create a 3 planet (or factor) sensitive point quite easily. Proceed in the same way as above when you created a midpoint. In this case, we will make the Planetary Picture (also called a Part or Lot), w+y-e. This formula is in the same form as Pars Fortuna (The Part of Fortune) and since this is a day chart, we would use the formula j+w-q=^ (Pars Fortuna), The result of these kinds of formulas is a dial position that is called a Sensitive Point and normally labeled with the formula used to create it. When a sensitive point is contacted by another body or factor, the Pars Fortuna (often expressed as A+B-C) style formula is completed.
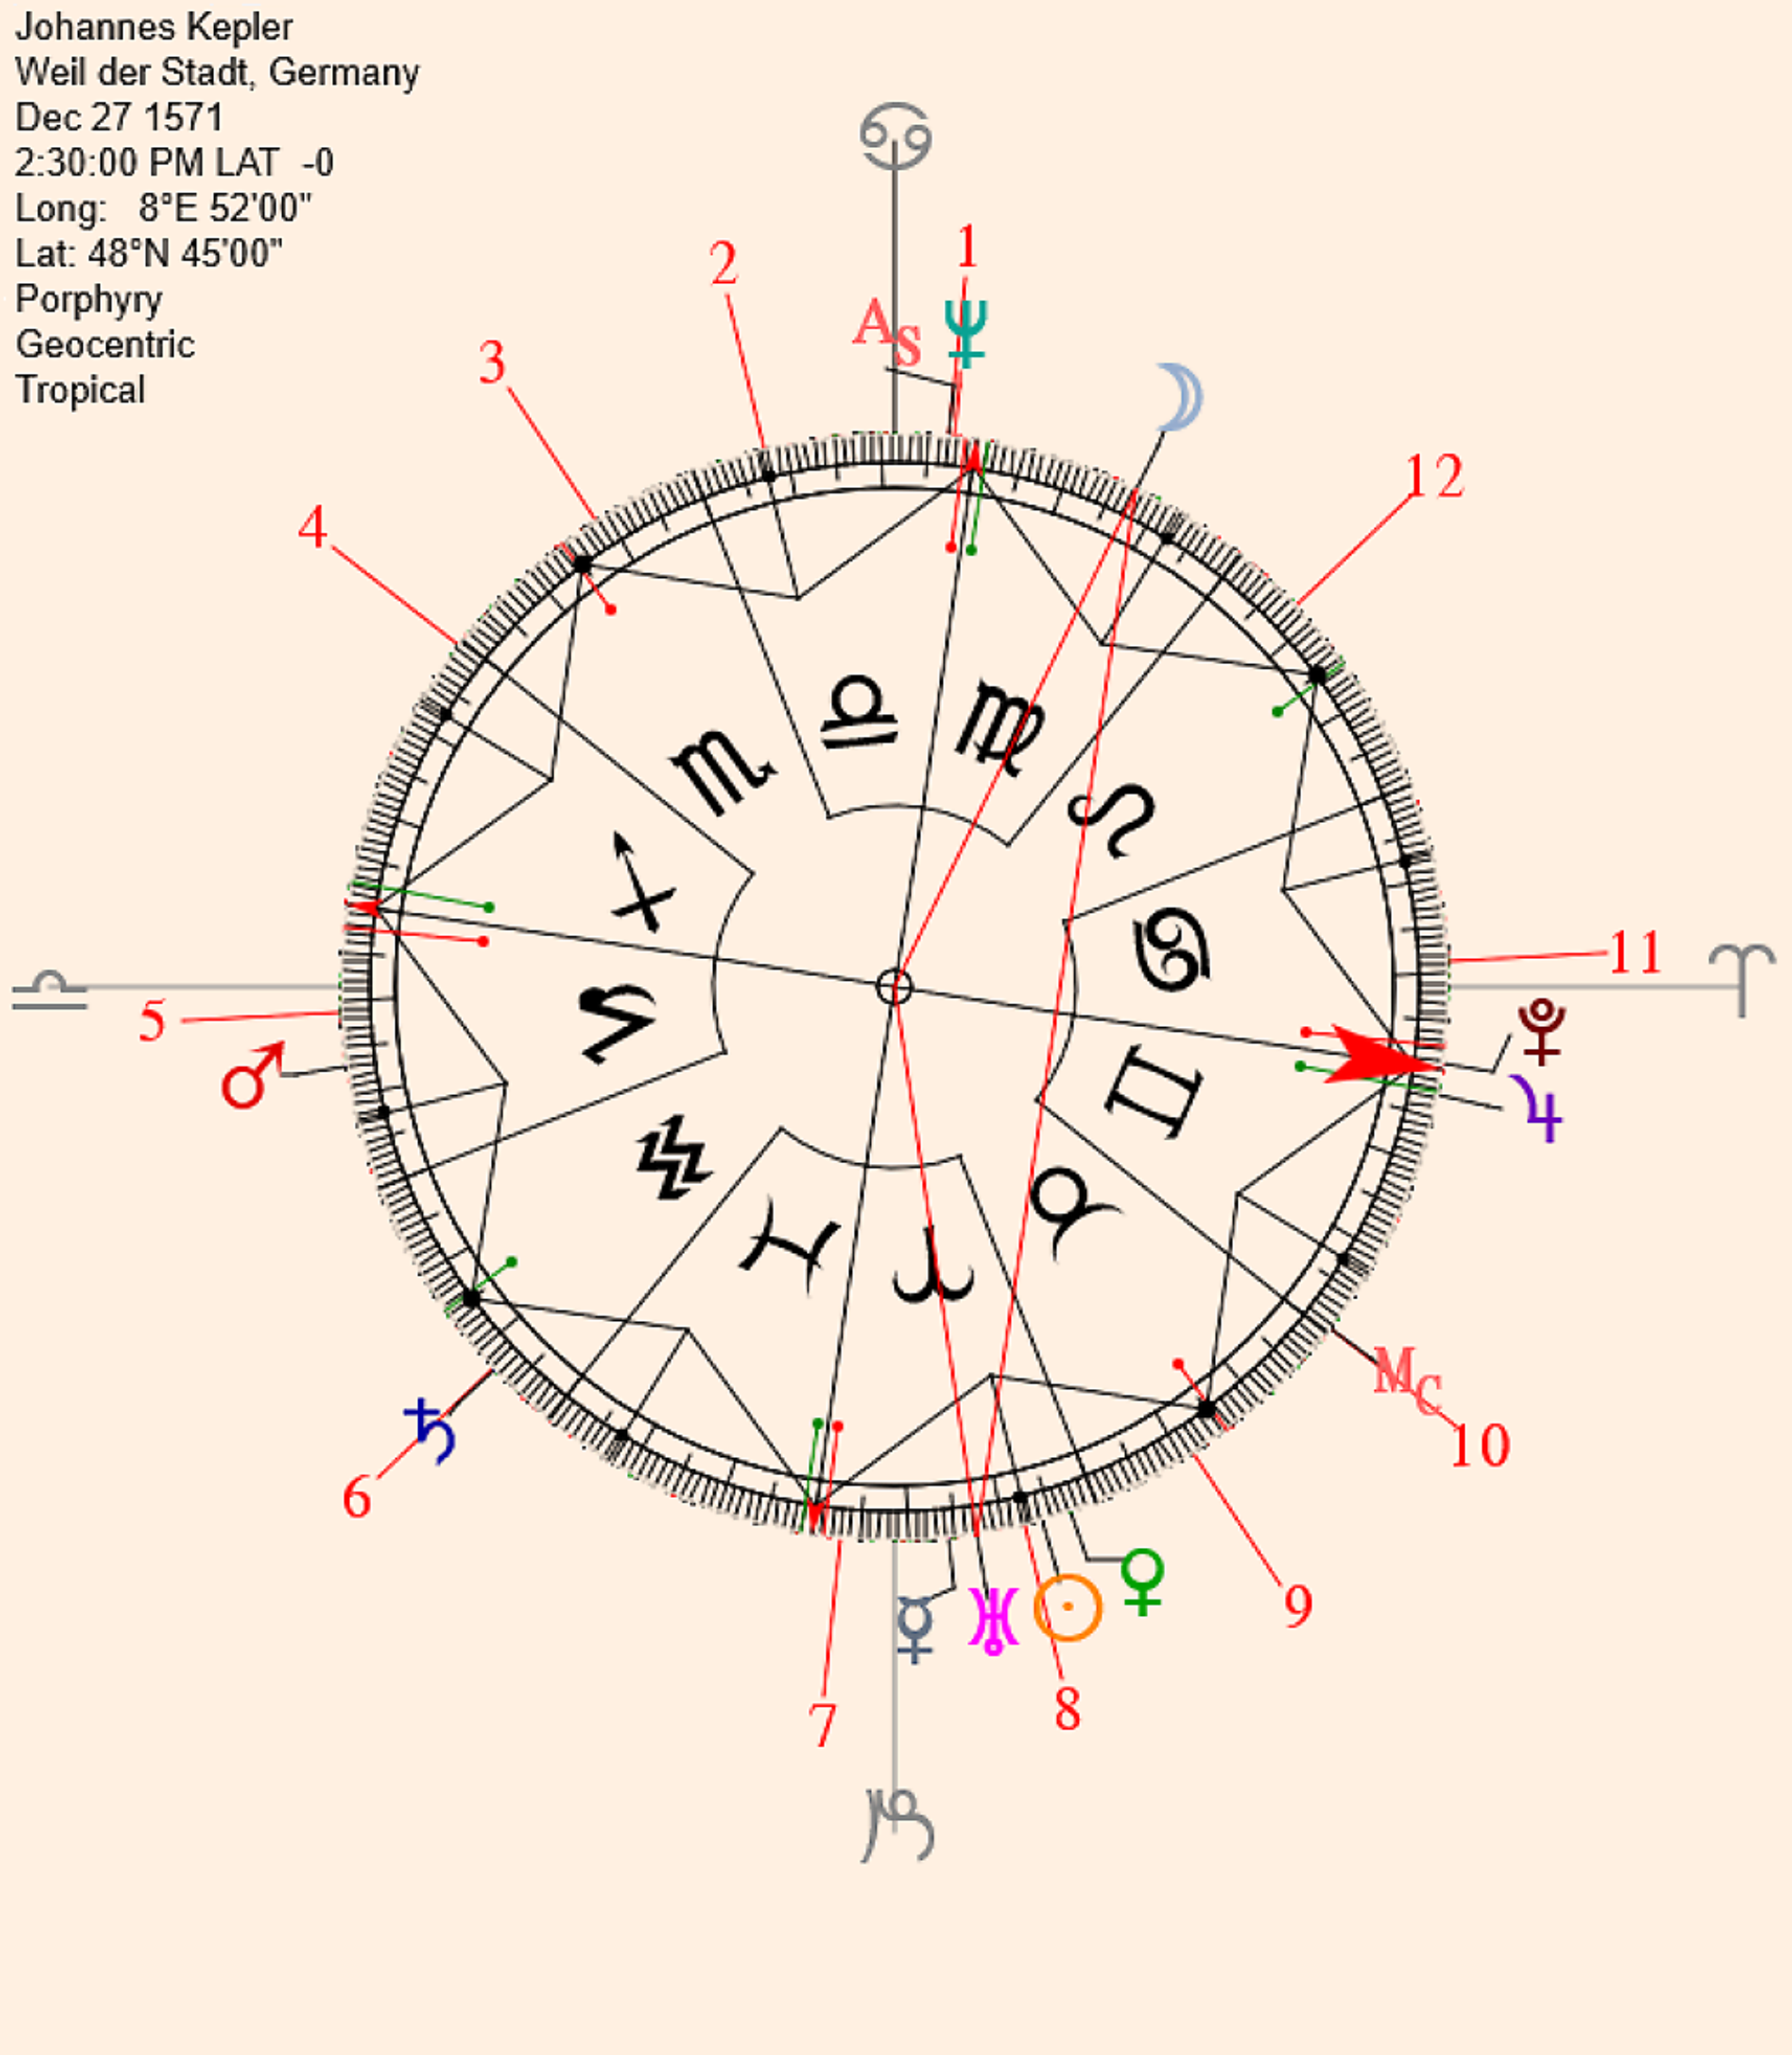
In this illustration, we have created the midpoint of w and i. You can press the + “Add Formula to Dial” button to the right of this displayed planetary picture in the Dial Pointer Formula Window if you want to add the w/i midpoint to the chart and make it as active as any planet or factor on the Dial display. Note the line and triangle connecting the planets is red, indicating they are exact (if these triangle lines are blue, it is within a tight orb and without a triangle a wider orb. Orb colors: Red is up to 5’, Blue is up to 30’ and Black is up to 60’ on the 360° dial (On the 90° dial, Red is 2.5’, blue is 10’ and black is 30’ of arc). The Dial Pointer is where the near end of the midpoint axis expresses. To begin to use the Dial to its potential, observe that the pointer is on p and the direct green Solar Arc indicator is within 2.5° of the Dial Pointer and is on y. The o and j are square to the Axis within 3° and the k is semi-sextile within a degree to the axis as well. The picture is in the 10th house and the axis connects the 10th and 4th houses.
With our w+y-e formula, start by a left click on the w, keep holding down the mouse button and drag the cursor over to yand release the mouse button. The dial pointer is now on the w/y midpoint. Next hover over e and right click (Mac: Ctrl + click). The Planet window will appear.
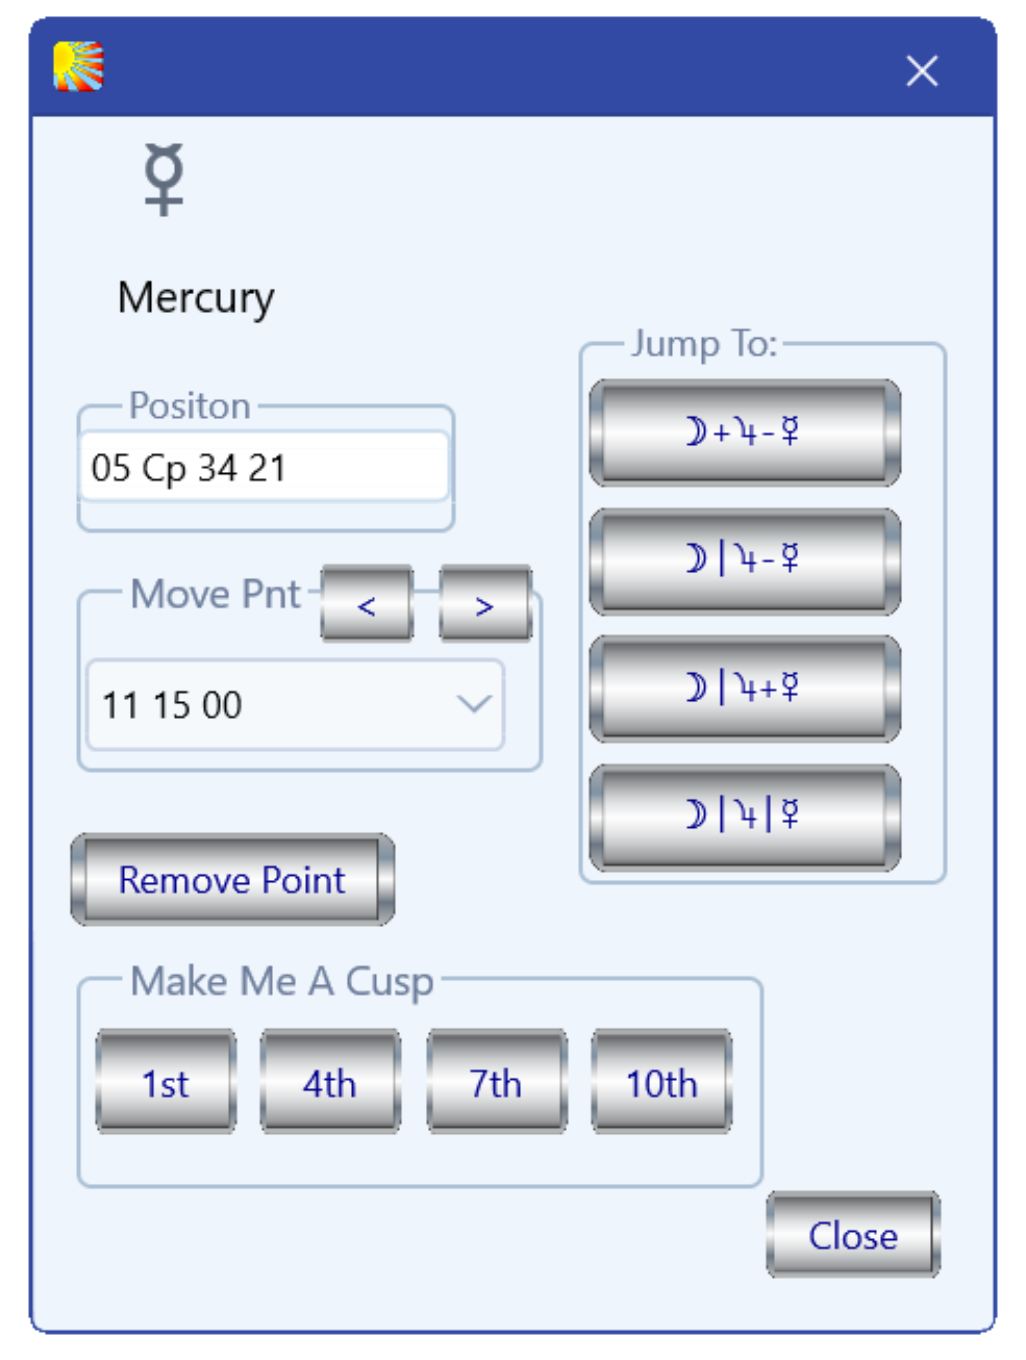
The Planet Window. When you right click (Mac: Ctrl + click) on a planet (or factor) this window will appear allowing you to manipulate the planet (or factor) as seen in the illustration and explained below. You can see the “Jump To” list of formula buttons on the right side of the window.
In the window, notice the 4 “Jump To” formulas on the right side of the window. Select the first one that contains the formula we are creating (w+y-e). Once you click on it, the Dial Pointer will go to the new Sensitive Point. You can label the point to make it sensitive to everything in the chart by clicking on the + button to the right of this displayed planetary picture in the Dial Pointer Formula window. Once labeled, it acts just like any other planet or factor in the horoscope.
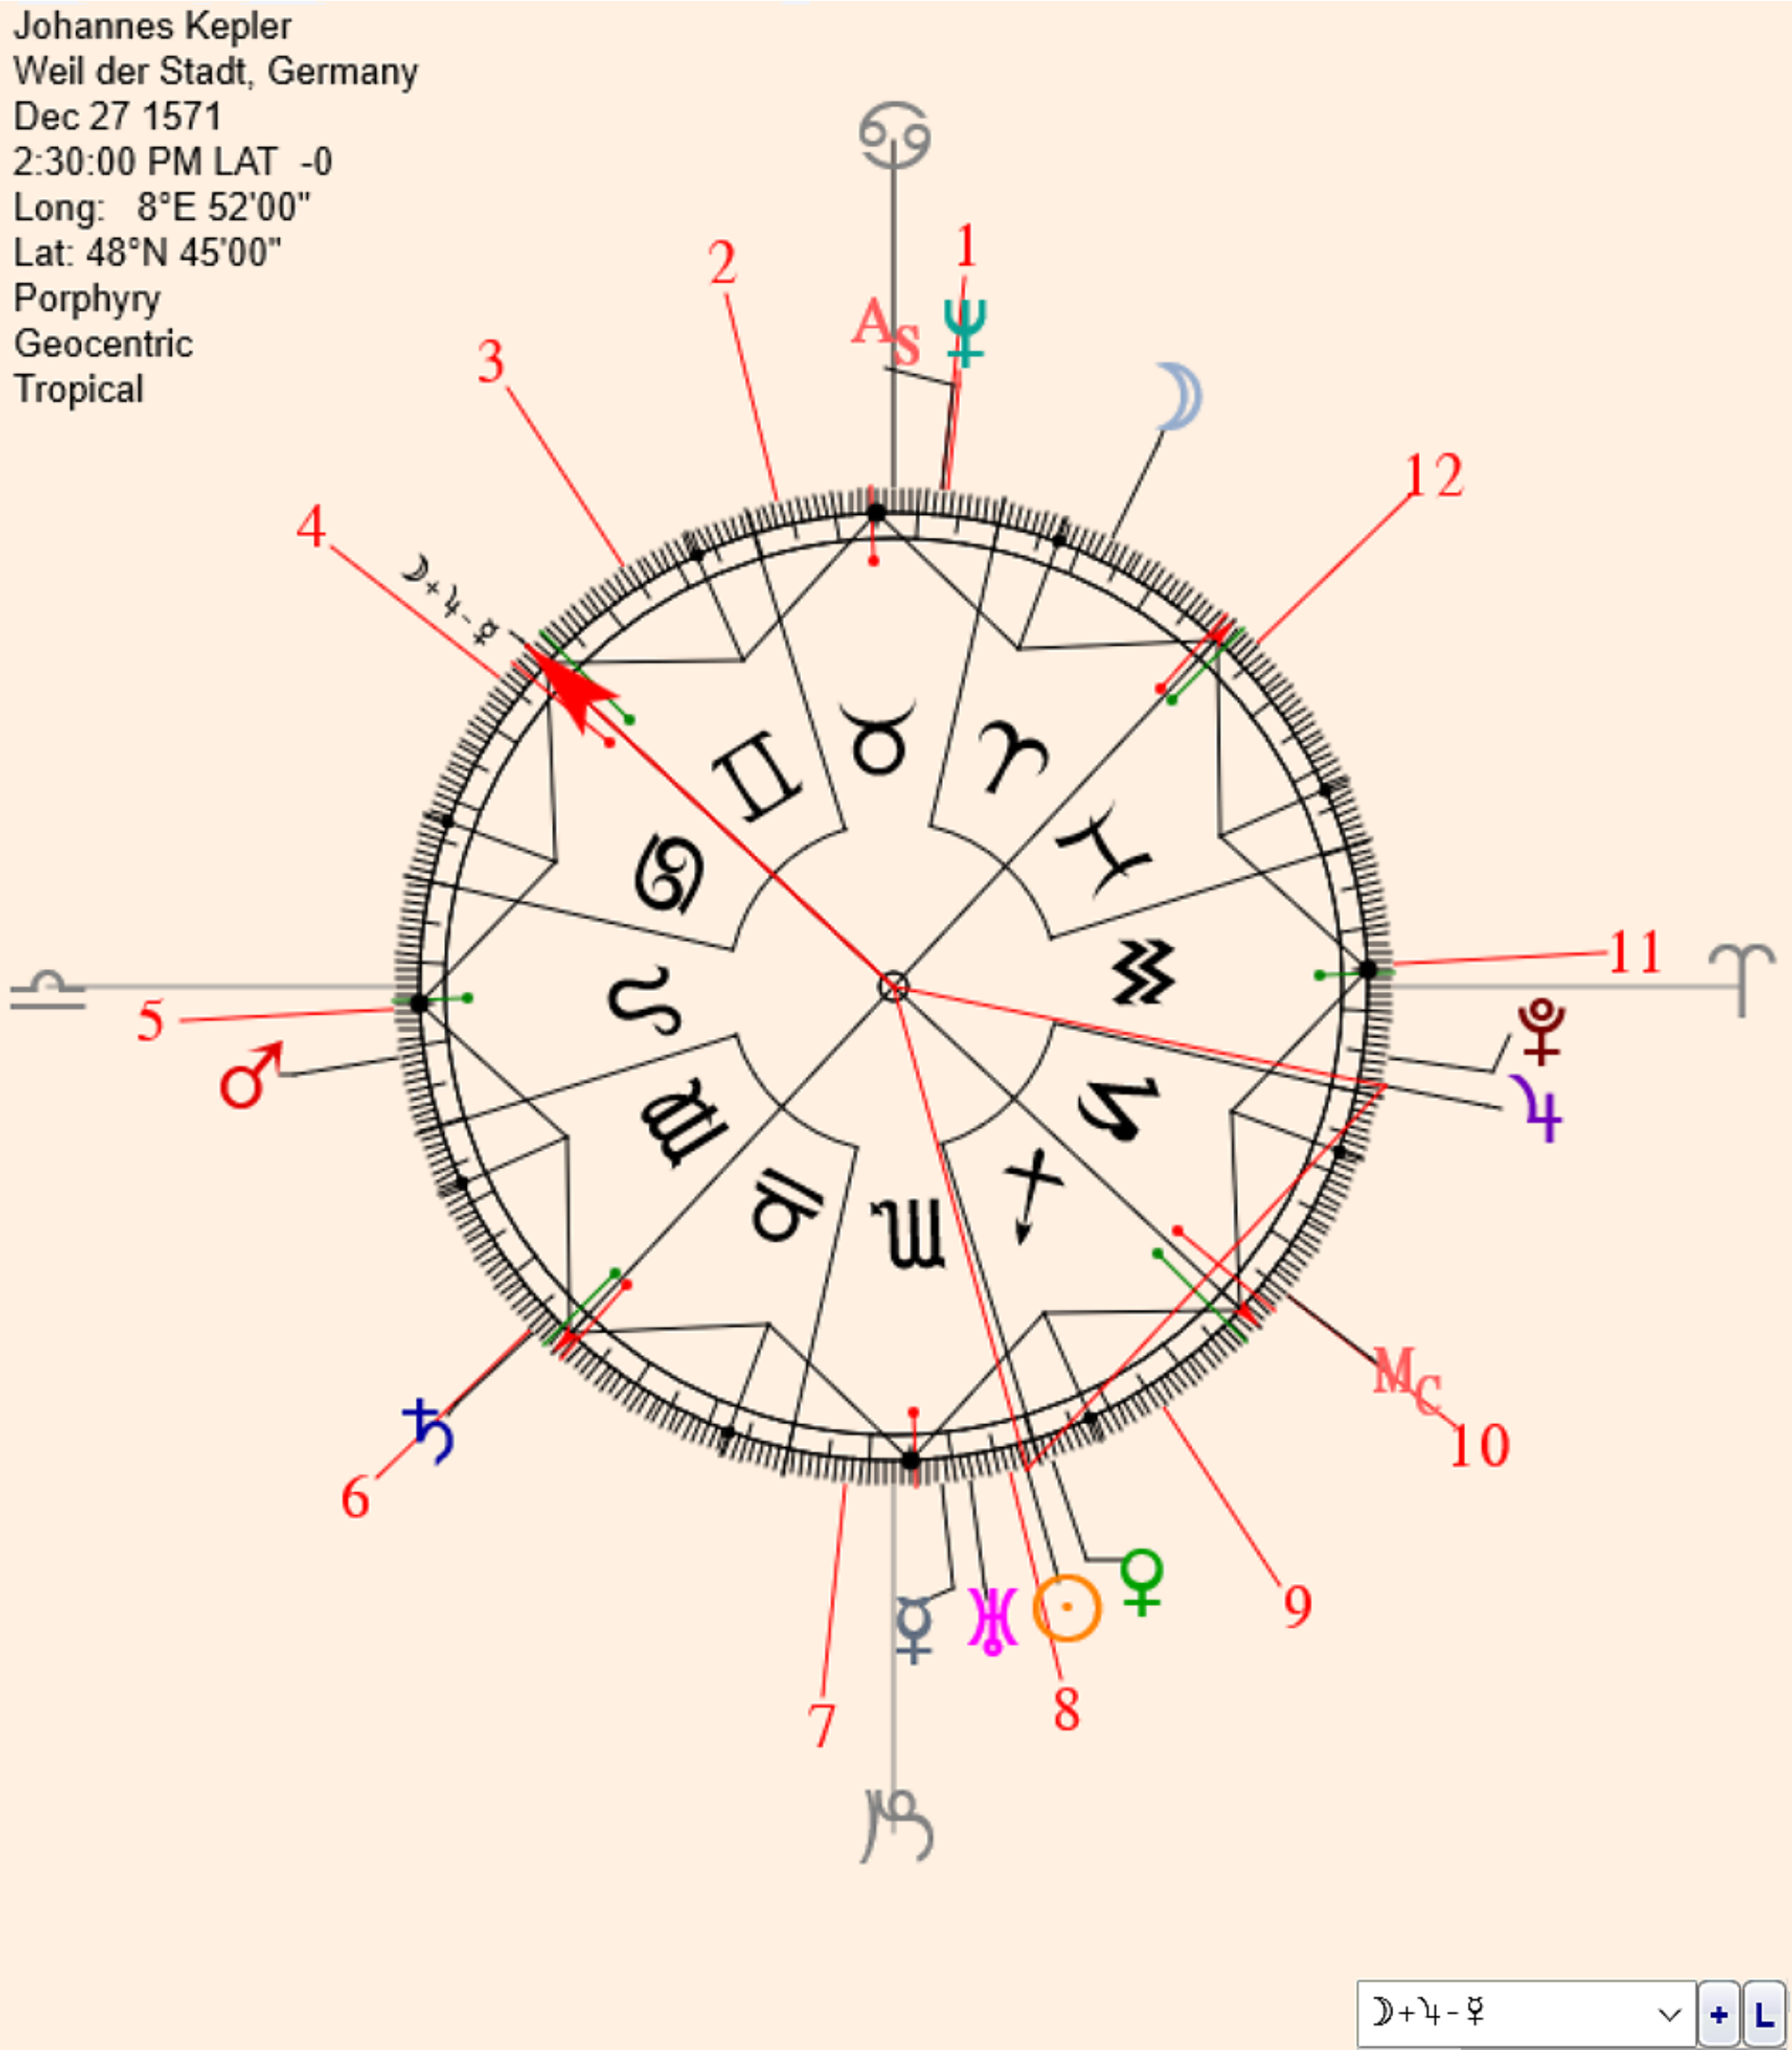
This illustration shows the Sensitive Point labeled w+y-eat the Dial Pointer. Note that the lower right is the Dial Position Marquee window and if you select the down arrow next to the contents of this window, it will list the last series of locations where you previously set the Dial Pointer. Selecting the + will label the formula listed in the Dial Pointer Marquee and where the Dial Pointer is positioned. Selecting L converts the key to an U and locks the Dial Point to what is displayed in the marquee window (useful when doing dynamic movements). You can switch from the 360° to the 90° for more detail and the position of the Dial Pointer will remain on the degree it was set to.
To repeat how to add a formula or Sensitive Point label to the Dial, first create a formula or place the dial pointer on a planet or factor. On the lower right of the Display Window, look at the top Marquee. This is the Dial Pointer Formula Window or Dial Pointer Marquee. This window will show whatever formula you have created on the Dial. If you point at a planet (or other factors), they will show in this Window. If you place the Dial at a specific position that is unoccupied, this window will remain blank, otherwise the window will show a formula you have manually entered or it will show the currently selected formula or factor.
To the right of the window is a Down Arrow symbol that, when clicked, will list the previous formulas as a retained list. This list will empty when you exit the chart. To the right of the down arrow is a + button that, when clicked, will add either the formula in the window as a label on the dial or, if the window is blank, a sequence of labels called Sp1, Sp2, Sp3, etc. (for Sensitive Point 1, Sensitive Point 2, etc.) will be inserted onto the Dial at the pointer position. These labeled locations will be completely responsive to any Midpoint, Lot or other Planetary Picture created with it. Besides creating formulas using the dial itself, you can manually create formulas either by left clicking on each factor and adding various mathematical delimiters or using the keyboard to enter any planets (or factors) using the keyboard entry instructions, shown below.
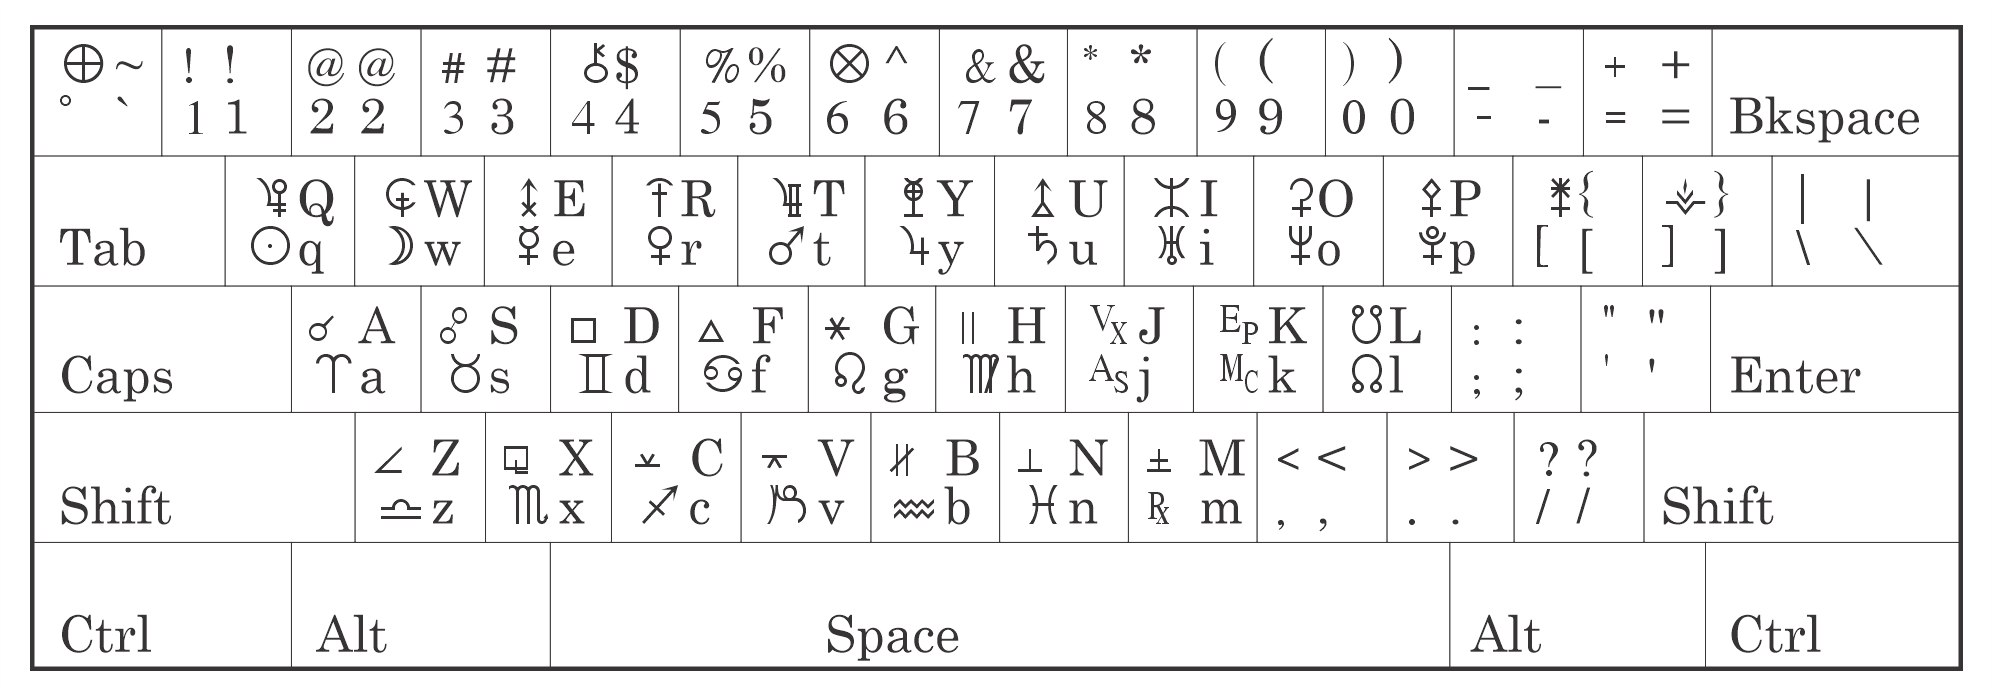
The above Keyboard equivalents map out the Astrolabe Font One layout. This is not the font layout used elsewhere in Solar Fire. It is only used in the Symmetrical section of Solar Fire and is illustrated here just for this purpose. The normal keyboard characters are next to the glyphs and the upper- and lower-case glyphs are shown on each keycap.
If you formally want to add house cusps to any formula, use the instructions in The Refl/Hse Button for switching the house cusps on the Dial to house cusp glyphs for insertion into formulas. You can also just click on the house numbers directly to insert them into formulas. The house cusps are sensitive in the creation of formulas without converting them to formula style symbols. You can add other positions to represent factors in other charts, lunations, electionals, eclipses, and anything else your work takes you to. These added positions aren’t dynamic and will remain as static points in the chart unless there are dynamic points integrated into a specific formula or midpoint. Dynamic points are labeled already with a subscript indicating if they are a Direction, Progression or Transit (D or I, P, or T).

The Dial Pointer Formula Window. When it is blank and if you press the + button, you will add an Sp1 to the Dial. If you press the + again, you will add an Sp2, etc. Here it is populated by the formula w+i-eand if you press the + key, this formula will be labeled on the dial. If you put in a planet or a formula containing dynamic factors (transits, progressions or directions) and press the L button, the button label changes to a U and the Dial Pointer will remain locked on the planet or formula as you move the time increment arrows forward or backward in time.
The L (U when switched on) “Lock/Unlock Formula Tracking” button, to the very right side of the Dial Pointer Formula Window, is for when the pictures are dynamic and you want the pointer locked onto a picture (or formula) you are manipulating using time to move the factors on the dial. If you click on the L Button, the L switches to a U and the pointer will stay on the formula, planet or factor listed in the window as you manipulate the time intervals for moving a chart though time (see below for instructions). The ability to label Sensitive Points (and other factors) allows you to add an infinite number of Sensitive Factors to the dial. The ability to track dynamic material is a very powerful feature.
When you manually type in a formula into the Dial Pointer Marquee (without using the dial) and you hit the Enter key on your keyboard, the pointer will go to the formula’s resulting location on the dial. The Glyph layout used in this window is the same as the keyboard layout for Astrolabe Font One (an Astrolabe font product). Left click in the Dial Pointer Marquee and enter the formula or single planet (or factor). The formulas can have +, -, =, /, |, *, etc. in them and you are allowed lengthy formulas. When you hit the Enter key on your keyboard, the Dial Pointer will go to the position of the formula with an orb of within 2 seconds of arc. You can then Label the new formula by hitting the + button to the right of the Dial Pointer Marquee and the newly labeled position will respond on the dial as if it were a native planet (or factor).
After you have created and labeled some combinations, you may want to tidy things up and get rid of intermediate material. To remove any displayed position on the Dial, hover over the planet, factor or formula on the dial till the cursor becomes a Hand symbol and right click on the selection. The Planet Position Window will come up (see the above illustrations of Jupiter and Mercury Position Windows). Notice the Remove Point Button. Clicking this button will remove the planet, factor or formula from the Dial. Hitting the Green Home button (on the left-hand side of the Display Window) will return the Dial to its original condition when you first loaded the horoscope. This action will restore any Planets or Factors you have erased. Any formulas you may have created will be erased if you double click the Home button.
When the Planet Window is open, there are not only controls for a Remove Point button, House Origins, and formula Jump To buttons, but controls to move a point and recalculate the chart on the fly. In the Planet Window, below the glyph of the planet (or factor) is the Planet Position Marquee. If you type a new position (either in absolute degrees – 0-360° or degree, space, 2 letter sign abbreviation, space, minute, space seconds) and then hit the Tab Key, the chart will recalculate forward in time to the next time the Planet (or factor) is at that degree, minute and second of arc. Once the chart has recalculated to your liking, hit the Close button at the bottom right side of the Position Window.
If you want to return the chart to its original display, left click on the green Home button on the main window and the chart will revert back to its original entered position. Below the Position Marquee are two buttons called Move Pnt (for Move Point) with one button pointing left and the other right. The use of these buttons are controlled by the Selections Marquee window just below. This window has a down arrow used to open a series of selections from 11° 15’ 0” down to 5’ of arc. Whatever you select will control the action of the Move Pnt buttons either moving the Planet (or factor) forward or backward in time via its motion. Each time you invoke any of these actions (using the Position Marquee or the Move Pnt controls) you are recalculating the original chart. This makes these controls quite powerful.
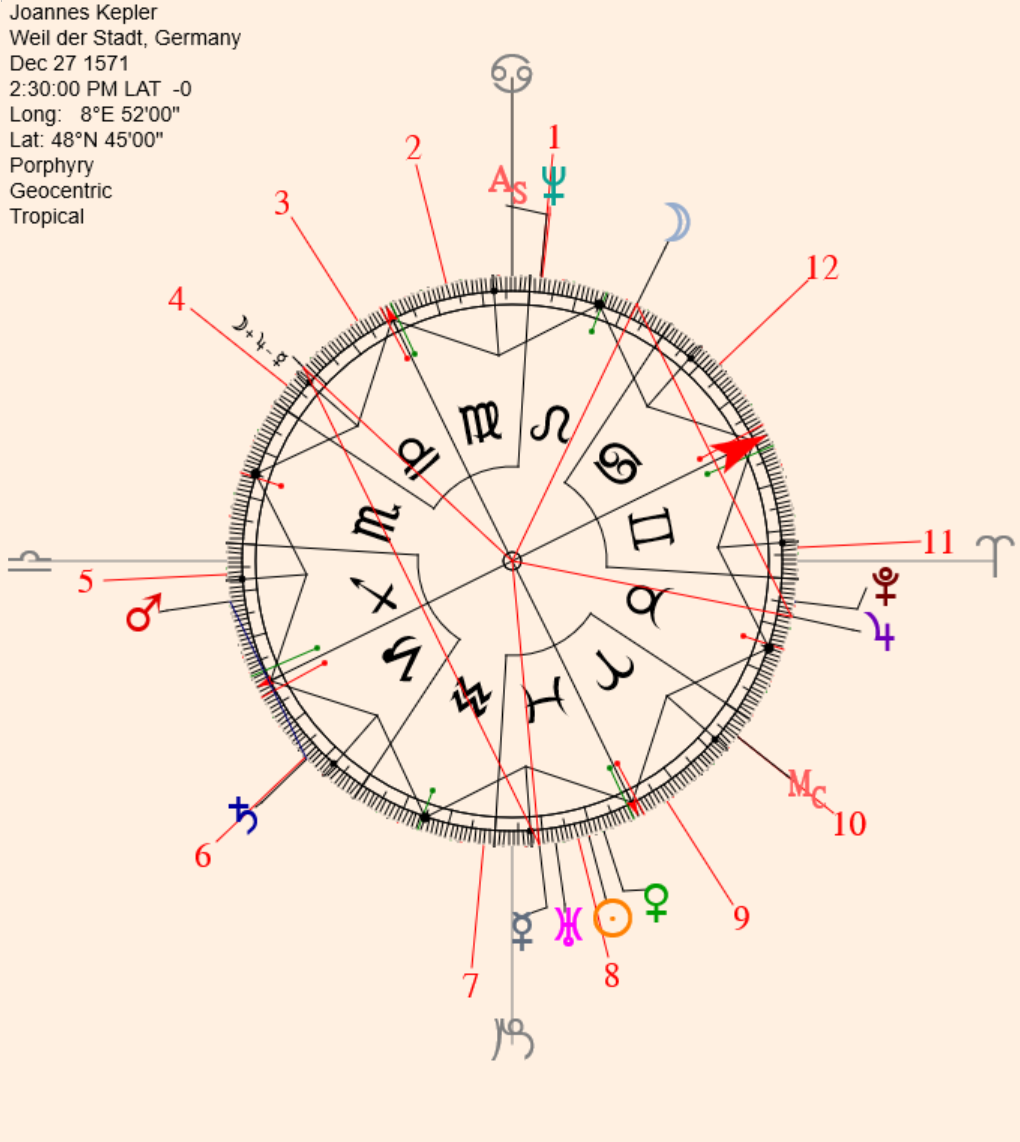
This illustration shows the Dial Pointer and Axis are at the w/y midpoint. Note that the Sensitive point, w+y-e is labeled and that it completes eon the w/y axis. The (w+y-e)/e shares the same midpoint axis as the w/y. Anything that occupies the same degree as the sensitive point or aspects to it, will tie the einto the entire formula. This can be the natal itself completing the picture or another chart having positions aspecting or occupying the sensitive point. It can be dynamic material like transits, progressions or directions. Anything that hits this sensitive degree will complete the formula and create a symmetrical structure.
Remember, the Home button will return the display to the original loaded chart. When you hit the Home button once, the chart will return to its original display with all added points retained. Hit the Home button twice in succession and the chart returns to its original display and all the added material is removed as well. Right click (Mac: Ctrl + click) on the Home button and the displayed chart is added to the Retained Charts listing on Solar Fire’s Main Menu window.